Starknet合约开发入门
Starknet合约开发入门
一、基础概念
1.1 什么是starknet
1.2 什么是L2
1.3 什么是zkEVM
1.4 什么是账户抽象
https://ethereum.stackexchange.com/questions/146974/how-to-start-with-erc-4337
https://github.com/eth-infinitism/account-abstraction/tree/6dea6d8752f64914dd95d932f673ba0f9ff8e144
https://learnblockchain.cn/article/5946
https://learnblockchain.cn/article/5930
https://learnblockchain.cn/article/5426
二、环境搭建及合约部署
2.1 cairo编译环境搭建
starknet合约使用cairo语言编写,首先得将.cairo文件编译成ABI JSON,之后才能部署合约。以下步骤展示如何安装cairo编译器及完成一个简单cairo源文件的编译。参考自:https://docs.starknet.io/documentation/getting_started/environment_setup/
搭建环境:
1
2
3
4
5
6
7
8
9
10
11
12
13
14
15
16
17
18
19
20
21
22
23
24
25
26
27
28
29
30
31
32
33
34
35
36
37
38
39
40
41
# 1. 创建工作目录
cd
mkdir cairo-workspace
cd cairo-workspace
# 2. 创建python虚拟运行环境
python3.9 -m venv cairo_venv
# 3. 激活虚拟运行环境,并在虚拟运行环境下执行下述步骤
source cairo_venv/bin/activate
# 4. 安装依赖库
# 1) gmp
# ubuntu
sudo apt install -y libgmp3-dev
# centos
sudo yum install -y gmp-devel
# 2) pip install ecdsa fastecdsa sympy
pip install ecdsa fastecdsa sympy
# a. 如果报错:error: command 'gcc' failed: No such file or directory
# 安装gcc:centos:sudo dnf install gcc
# b. 如果报错:Python.h:没有那个文件或目录
# 安装:sudo yum install python3-devel
# 5. 安装cairo cli
pip uninstall cairo-lang
pip install cairo-lang
# 6. 检测cairo cli是否安装成功
starknet --version
# 7. 安装cairo代码编译器
git clone https://github.com/starkware-libs/cairo/ .cairo
cd .cairo/
git checkout tags/v1.0.0-alpha.6
# 如果没有cargo包管理器,需要安装后再执行该命令
cargo build --all --release
# 将cairo的bin设置到path
export PATH="$HOME/cairo-workspace/.cairo/target/release:$PATH"
# 如果需要永久生效,编辑.bash_profile或.zshrc, 添加
PATH="$HOME/cairo-workspace/.cairo/target/release:$PATH"编译cairo源文件:
1
# cairo 0 要废了,直接用cairo-compile --version看下有东西出来就OK了
2.2 部署账户
在部署合约之前得先有账户,starknet账户抽象使用的是ERC4337协议,部署账户流程如下:
1 | # 1. 进入cairo工作目录 |
2.3 部署及调用合约
编写.cairo合约代码:
1
2
3
4
5
6
7
8
9
10
11
12
13
14
15
16
17
18
19
20
21
22
23
24
25
26
27
28
29
30
31
%lang starknet
from starkware.cairo.common.cairo_builtins import HashBuiltin
// Define a storage variable.
@storage_var
func balance() -> (res: felt) {
}
// Increases the balance by the given amount.
@external
func increase_balance{
syscall_ptr: felt*,
pedersen_ptr: HashBuiltin*,
range_check_ptr,
}(amount: felt) {
let (res) = balance.read();
balance.write(res + amount);
return ();
}
// Returns the current balance.
@view
func get_balance{
syscall_ptr: felt*,
pedersen_ptr: HashBuiltin*,
range_check_ptr,
}() -> (res: felt) {
let (res) = balance.read();
return (res=res);
}编译合约:
1
starknet-compile-deprecated first_contract.cairo --output first_contract_compiled.json --abi first_contract_abi.json
声明合约:
1
2
3
4
5
6
7
8
9
10
11
12
# 查看环境变量是否设置
echo $STARKNET_NETWORK
# 若没有设置,请用命令参数的方式指定
starknet declare --contract first_contract_compiled.json --deprecated --account=jebs_account1
# 输出
# Sending the transaction with max_fee: 0.000001 ETH (1378311599773 WEI).
# DeprecatedDeclare transaction was sent.
# Contract class hash: 0xd267e6a11eed91056994aa6a89b20ca2fa989385e88429b57a9fdce84c58e6
# Transaction hash: 0x20b6c9469b6444eac1a8de7b0fce1f62ddb5dfc1f50933015379a6c90fa4249部署合约:
1
2
3
4
5
6
7
8
starknet deploy --class_hash 0xd267e6a11eed91056994aa6a89b20ca2fa989385e88429b57a9fdce84c58e6 --account=jebs_account1
# Sending the transaction with max_fee: 0.000003 ETH (3426529437062 WEI).
# Invoke transaction for contract deployment was sent.
# Contract address: 0x02e06ac28dd788ff7a71a38d283c46d458893fa6eebb23f18c4c515ec44eecd7
# Transaction hash: 0x565c97b2af76e2a0166a876273a8f3713dde2b4c778dd3af3df9988ce27e4f8
# 参数是否需要用str_to_felt来算不太记得了,后面如果不ok可以试试
# 如果需要传构造参数,请加上--inputs 如:starknet deploy --inputs 1 ....调用合约:
写入
1
2
3
4
5
6
7
starknet invoke --address 0x02e06ac28dd788ff7a71a38d283c46d458893fa6eebb23f18c4c515ec44eecd7 --abi first_contract_abi.json --function increase_balance --inputs 1234 --account jebs_account1
# 输出
# Sending the transaction with max_fee: 0.000004 ETH (4089836100665 WEI).
# Invoke transaction was sent.
# Contract address: 0x02e06ac28dd788ff7a71a38d283c46d458893fa6eebb23f18c4c515ec44eecd7
# Transaction hash: 0x5953cc246c693c12587073202f2c801c0809d13417da9510e15077c0de748cd读取:
1
2
3
4
starknet call --address 0x02e06ac28dd788ff7a71a38d283c46d458893fa6eebb23f18c4c515ec44eecd7 --abi first_contract_abi.json --function get_balance --account jebs_account1
# 输出
# 1234
2.4 合约开发工程化
单个合约文件可以用starknet-compile命令编译,但是如果合约内引用了其他合约,那么处理起来就很麻烦:把相关引用下载到本地,放到合适的目录,然后引用(具体我也没试过,cairo 0已经被下掉了,文档也找不到了)。工程化后直接将包install一下,然后compile的时候工具会自动处理相应的依赖关系,就没那么麻烦?工具地址:https://github.com/OpenZeppelin/nile
1 |
|
对于最后一步“部署”,nile有bug,如果合约有构造参数,没法部署上去,解决方案是将artifacts目录下的对应的abi文件复制出来,然后使用“2.3 部署及调用合约“中说明的方式来部署单个合约。
2.5 dev net 搭建
infrua或者alchema经常抽风,如
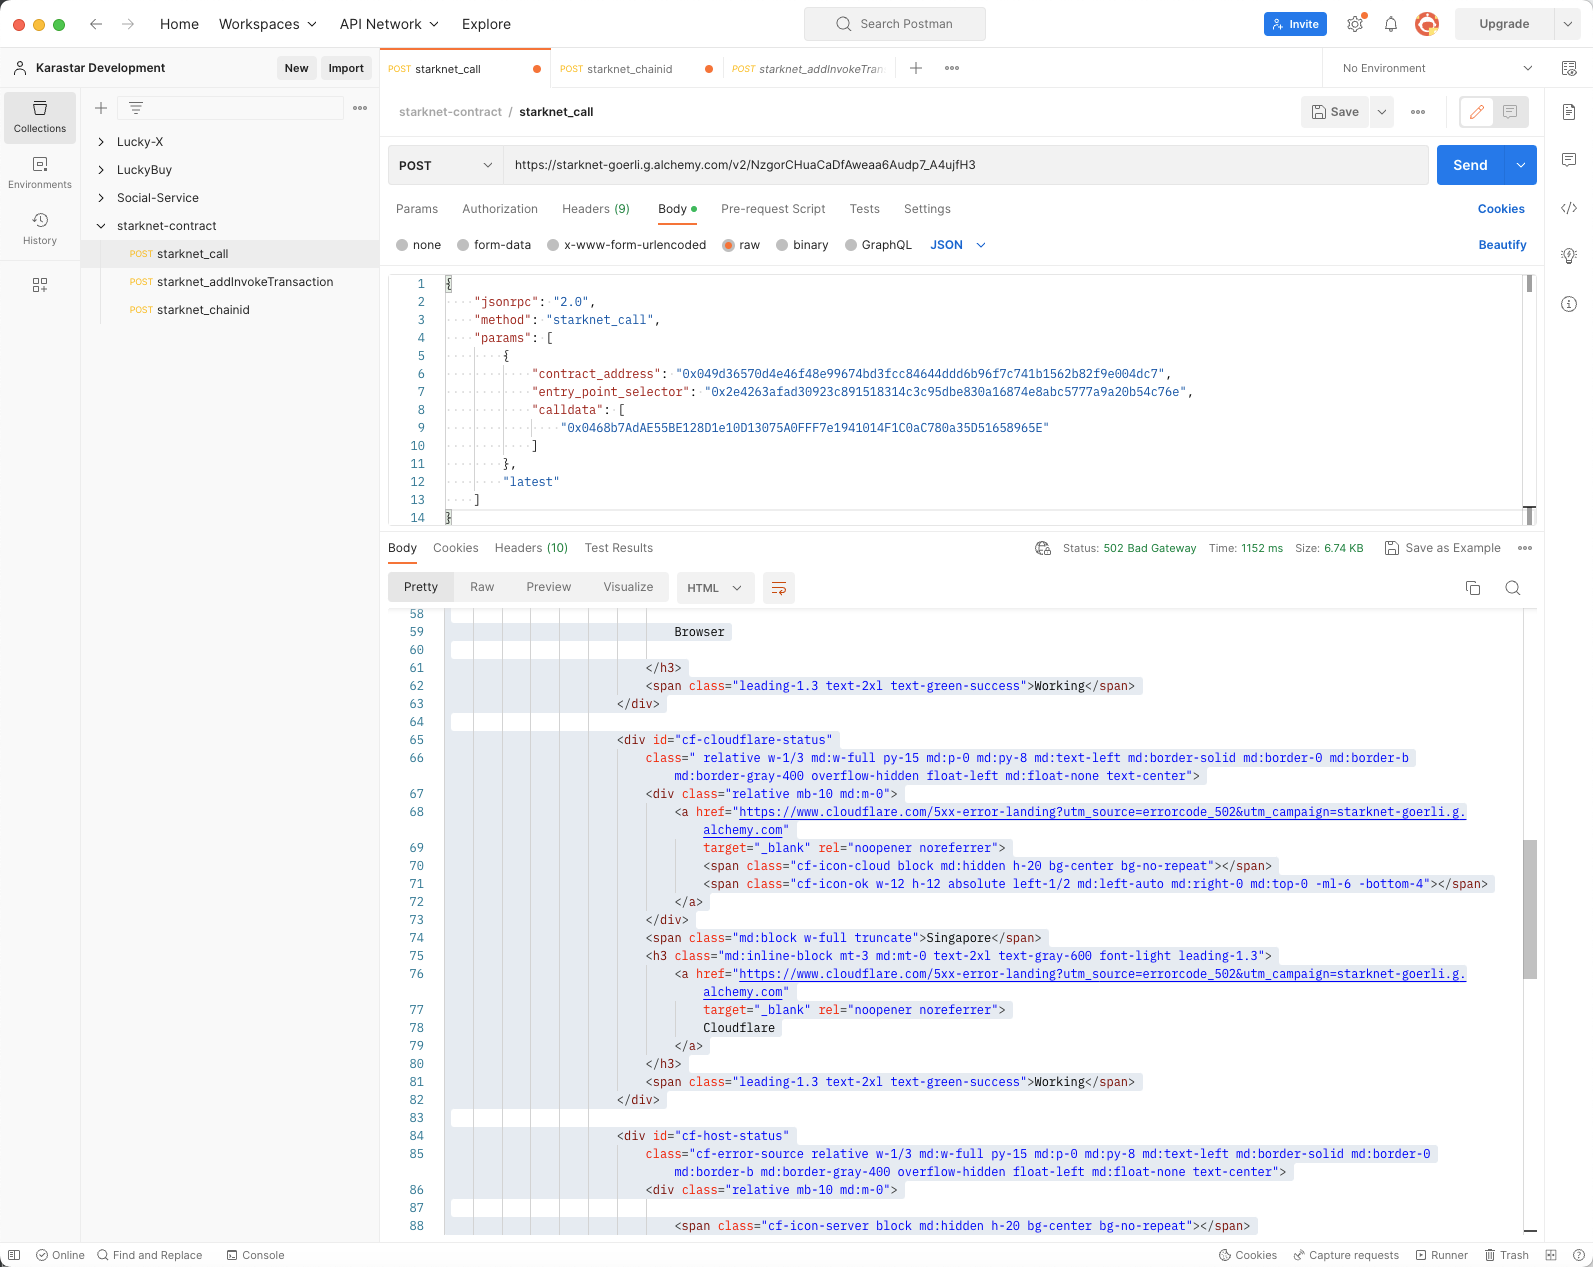
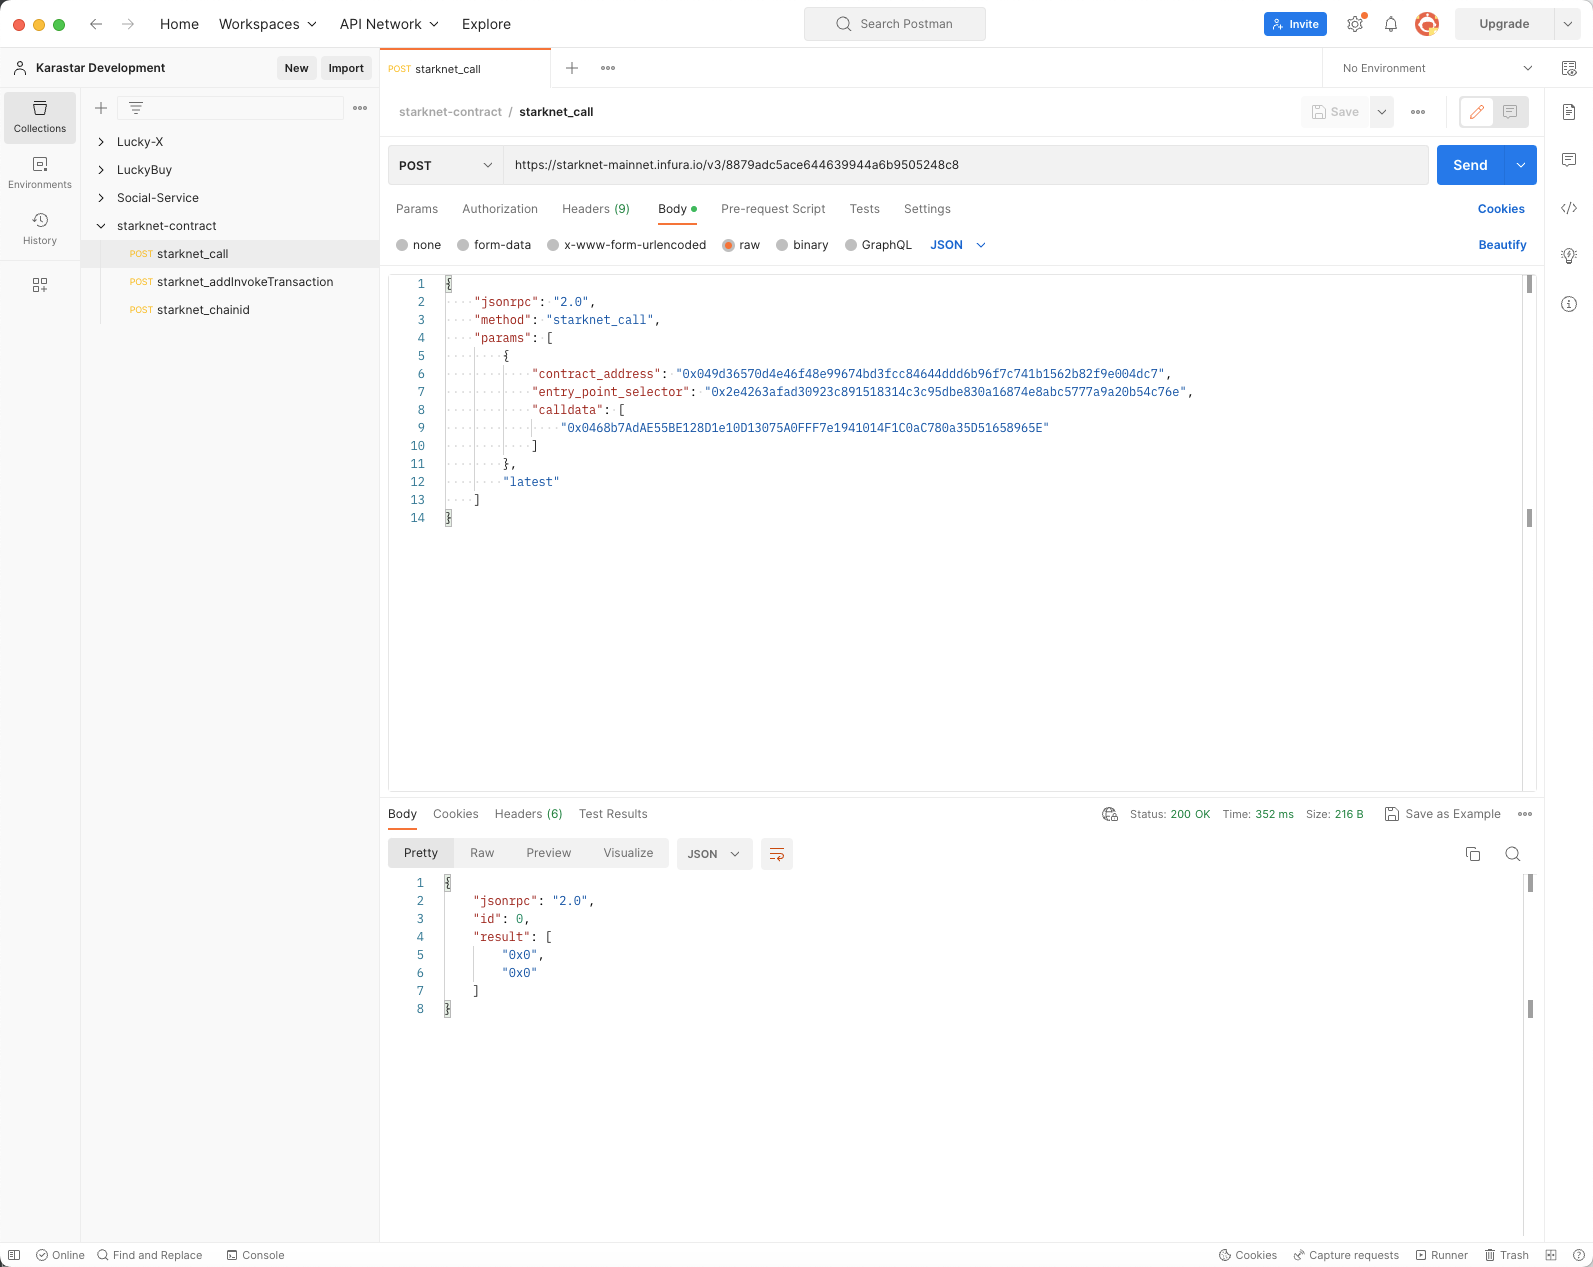
可以在本地搭建开发网络,当然最终还是要在测试网测试过才可上线,完事了之后将rpc地址换成http://127.0.0.1:5050/rpc即可,参考地址:[https://0xspaceshard.github.io/starknet-devnet/docs/intro](https://0xspaceshard.github.io/starknet-devnet/docs/intro)
三、web2与starknet网络交互
- java:starknet-jvm,好像有bug,愣是跑不起来
- nodejs:starknet.js,4.22.0 ok
四、其他
- starknet要迁cairo1,所以这里cairo0写的合约要废掉了,重写,cairo0的合约最晚支持到23年年底:https://gitlab.gamefitest.com/gowrap/gowrap-contract/-/blob/master/contracts/WToken.cairo
刚接触starknet时的一些问题:
venv是什么:python的虚拟化环境
cairo 0与 cairo 1的区别:
cairo compiler是什么:编译cairo合约源文件的玩意:“The Cairo compiler allows you to compile Cairo code into Cairo VM executable byte code”
testnet1和testnet2的区别:不知道,一直用testnet1
工程化后,如何写测试代码:不知道,nile已经不维护了,官方discord上有看到hardhat plugin,但是还没去看是个啥,现在这个时间点也没必要去看
new_account并转账后,能看到这个,所以starknet账户也是合约? 是的
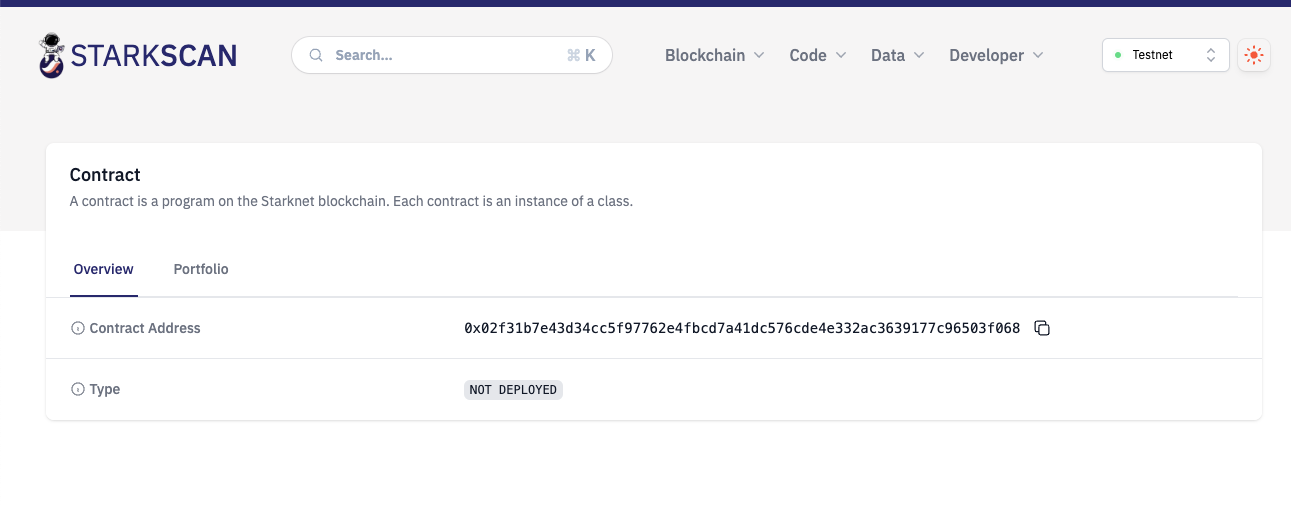
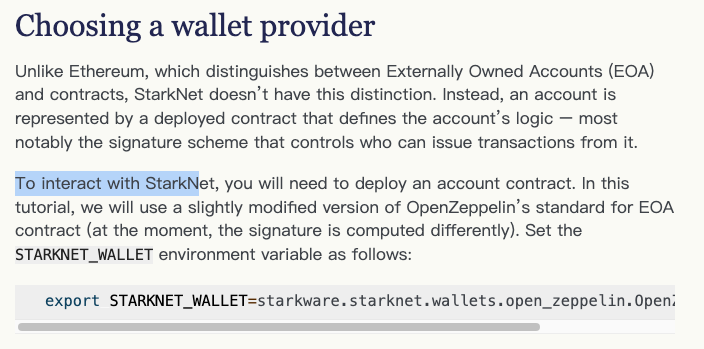
啥是wallet provider: 应该是钱包合约的实现?还没找到资料
cairo 0 是如何查找依赖的:https://www.cairo-lang.org/docs/how_cairo_works/imports.html#import-search-path
这个是合约钱包?是的
五、参考资料
- starknet official doc: https://docs.starknet.io/documentation/
- starknet book: https://book.starknet.io/
- starknet devnet official doc: https://0xspaceshard.github.io/starknet-devnet/docs/intro
- cairo 0 doc: https://www.cairo-lang.org/docs/hello_cairo/index.html
- cairo 1 doc: https://www.cairo-lang.org/docs/
- openzeppelin cairo-contracts: https://github.com/OpenZeppelin/cairo-contracts
- nile: https://github.com/OpenZeppelin/nile
- 登链社区:
- python venv: https://www.liaoxuefeng.com/wiki/1016959663602400/1019273143120480
- goerli测试网水龙头: https://faucet.goerli.starknet.io/
- 区块浏览器: starkscan.co
- starknet json rpc api: https://docs.alchemy.com/reference/starknet-getclasshashat
六、数据备忘
6.1 已部署的合约
- https://testnet.starkscan.co/contract/0x06f437b6624d8bb9455eedfb26fa99b8267846a05ed2d7f6a03710106f94fcac:命令传参有问题,合约废了
- https://testnet.starkscan.co/contract/0x007289af78ff58bb8a0785211c5408309da958677cb6cf0629bd0b513c4c6391: 权限部分有问题,admin的role没有设置对
- 可用的:https://testnet.starkscan.co/contract/0x06f437b6624d8bb9455eedfb26fa99b8267846a05ed2d7f6a03710106f94fcac
- 管理员地址:0x38548d8cbba61b943d1e7982aef9593eaf0a6483fd3a96b8fc69d00a0ce936b
6.2 部署成功时使用的命令
1 | starknet deploy --class_hash 0x144a632be9eacbb9ad8a70346b1d4560df37ee52ed55c7d077ad25f95abd315 --account jebs_account1 --inputs 131341969220974 30580 |
